2015-03-01

Never BBQ again! Reverse Sear steak!


Highlights:

  • Season steak
  • Put in oven at lowest setting, until temperature = 100 degrees
  • Let rest
  • Heat pan, or bbq sear zone
  • Sear for a minute a side


So, we are meat eaters, steaks, roasts, chicken, ribs, anything that could be cooked over a flame, either bbq or even over the open fire. (our ribs are a hit)

But, omg, cook a steak in the oven? That was sacrilegious!

That went against every thought of meat eaters laws out there.

Until... I came across a post on the "Reverse Sear".

Now I have tried cooking steaks in the oven then searing after, but, I had a hard time with knowing when to pull it out of the oven for the perfect medium rare juiciness. Not to mention almost setting off the fire alarm with all the smoke.

The "Reverse Sear" eliminates the guessing, and for the most part some of the smoke.

Note: I have not given up my bbq totally. I finally started to enjoy the "sear zone" on the bbq.

So, why don't I just use my bbq?

Until you try the Reverse Sear in the oven, you will see how easy it is to "perfect" the perfect steak.
And with the temperatures of -35 degrees in the winter, cooking it in a nice warm house is a non decision.


What you will need:

  • Meat thermometer
  • Pan to sear steak (thats not to say you cannot still use your sear zone on your bbq)

So, I have done this a few times, and I have also done a "Reverse Sear" Prime Rib!
I will give you the directions for both.


Season Steak or Roast:
Pat dry the steak. You dont want to "steam" the meat.
Follow the salt rule... Salt before an hour before cooking, and if you do not have an hour, salt right before. The reason being is, the salt first draws the liquids out, then about 40 minutes to an hour, the juices are then absorbed back in with the salt. They actually mention to season you steak the night before. I don't have much forethought for that, so seasoning the steaks at least an hour before is usually what I get done.
What you only need is salt and pepper. I also drizzled a Cayenne infused olive oil on the meat, that is why the meat has an orangie tinge.
During this time let come to room temp.

Ribeyes from butcher
Ribeyes seasoned and ready for oven

Preheat oven to your lowest setting:
What ever your oven has for its lowest setting, set it to that. My oven is 150.

Medium Rare internal meat temperature: 100 degrees
Insert you meat probe into the middle of the steak. You want to reach 100 degrees.
For a steak this is about 20 minutes.

At this point, set it and forget it!

If using a pan to finish the sear, you want to start to get it warm when the internal temp reaches 90 degrees.
Once the temperature reaches 100 degrees you can then pull it out.
Let it rest.

The nice part about this, is that you are resting the meat before hand. You now have time to get the rest of dinner ready, and when its time, you sear the the steak, and plate immediately!
 
Steak seared in hot pan
Steak seared on BBQ

The pictures do not do it justice, both steaks were fantastic and turned out great. The sear zone on the bbq gave it a little more of that charcoal feel/look.

And the results a perfect Medium rare steak, with out the additional grey ring that you would get if you seared first then placed in the oven.


Reverse Sear Roasts

If you want to do a roast it is the exact same method. Times and temps are alittle different.
I did a 2 rib, prime rib roast. I removed the bones to make a better even cook throughout, and is easier to carve after, But, you can leave the bones on.

Again, I like to season the roast with a little drizzle of the cayenne infused Olive Oil, but meat tastes great with just salt and pepper.
Roast seasoned and ribs removed

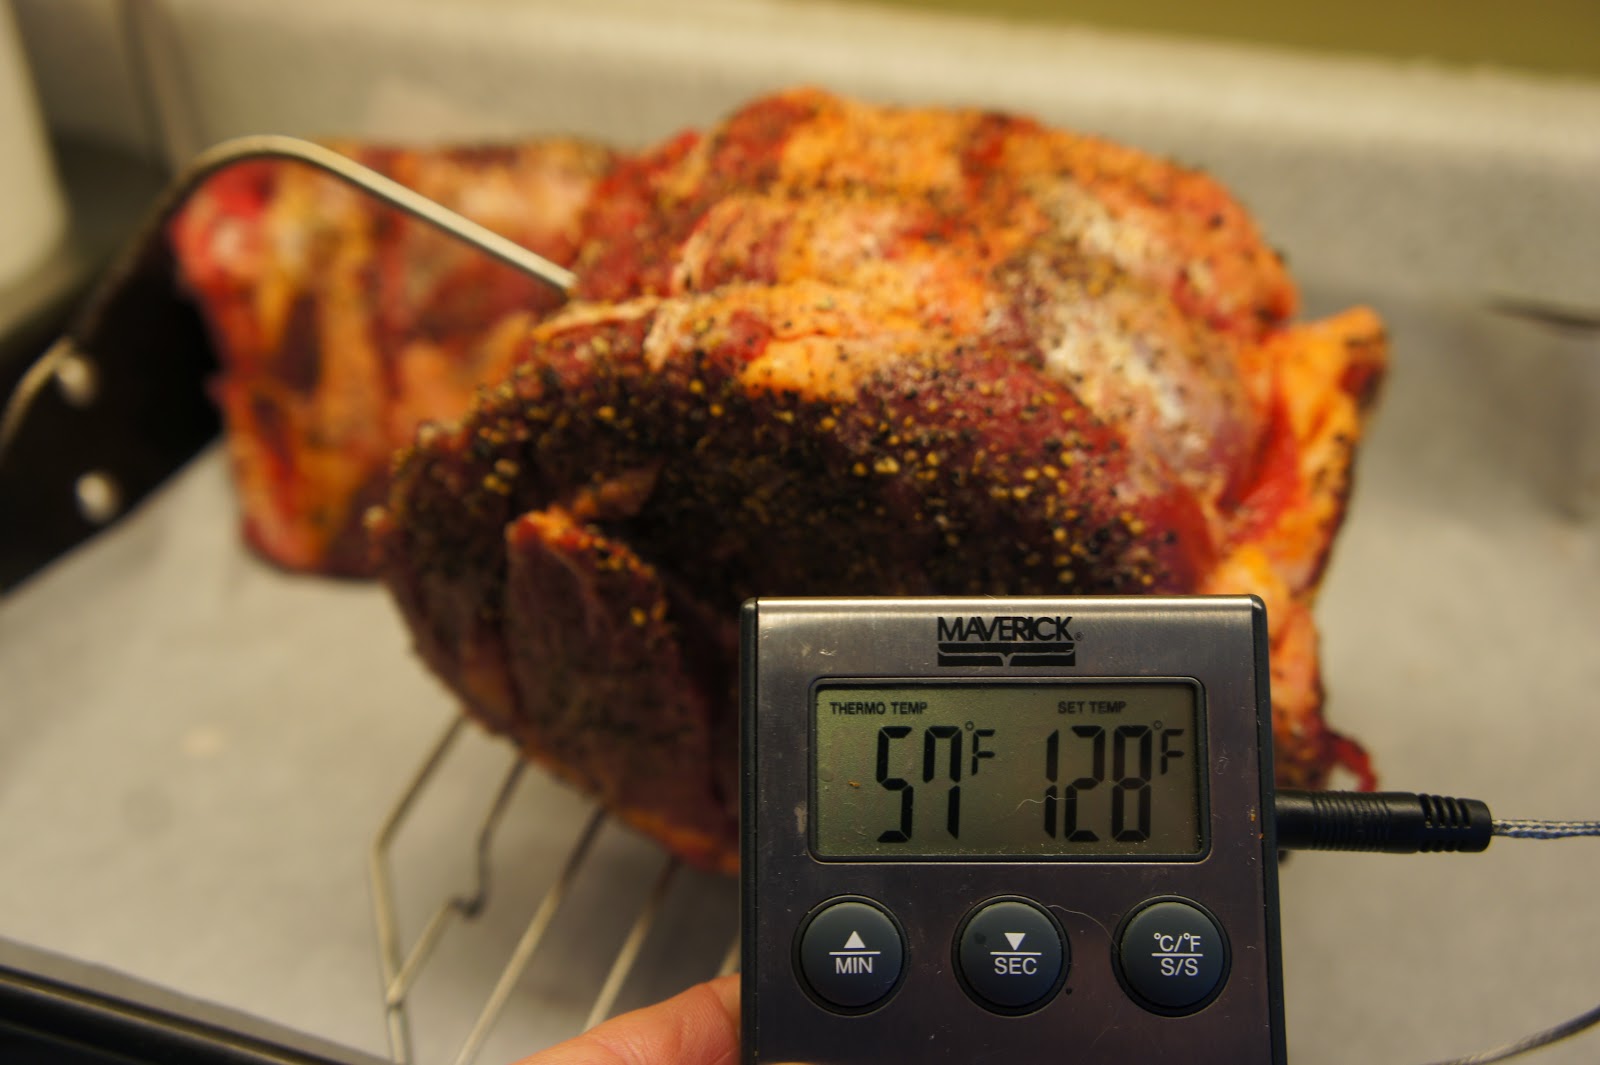
With a roast the temperature to reach is alittle different. You want to pull it out when it reaches 128 degrees. It will take some time, BE PATIENT! This roast took over 3 hours. So start early. This was our first try, and did not eat until 8:30 at night!

Once it reaches 128 degrees, pull out and let rest. At this point turn up the temperature to 500, you can even broil the meat, but make sure you keep an eye on it, and turn the meat so you do not burn it.
Next time I will try the sear on the bbq...
Searing / broiling will take about 20 minutes.
But, the wait is worth it...

Roast was served with Asparagus and Mash Potato Wontons. (look for the recipe soon, these are a hit for any dinner party, as they can be made ahead of time and freeze. Then just pop them into a deep fryer)

My apologies, the picture I took of the roast sliced, turned out blurry, and the one of the full plate does not do it justice.


2013-10-19

Easy Baked Enchiladas


Baked Enchiladas

This easy recipe was put together with left over chicken and steak that I had lying around.
You can use ground beef, shrimp anything you fancy...


Ingredients

  • 8 small tortillas
  • Chicken / Steak - chopped
  • Cheese (I like a good Mozza)
  • Roma Tomatoes
  • onions - diced
  • Green onion
  • clilantro (I stress, use fresh!)
  • Lime juice
  • Peppers ( I like Jalapeno and  Serrano peppers) - diced
  • Garlic - Crushed or chopped fine


Preparation

Homemade salsa:

Mix tomatoes and onions in bowl. Season with Cilantro, lime juice, garlic, peppers and salt.
*Note... I have not given exact measurements, you basically go with the flow. If you like it hotter add more peppers...
Start with 2-3 tomatoes, add as much onion as you like with it.

Spray baking dish with PAM.
Take tortilla and microwave for 10 seconds to make it easier to work with.
Add your meat, cheese and a couple of spoonfuls of your salsa.
Wrap enough so the ends overlap and place in dish, with seam down.
Top with more cheese, this is where I used the Kraft Habanaro Heat or Tex-Mex cheese.
     (Actually, Kraft has 3 different types of Mexican cheese that would work nicely with this)

Bake covered at 325 degrees for 20 minutes.
Take foil off and broil until cheese on top browns slightly.

Take out of oven and top with chopped tomato, green onion, and more cilantro.

 Serve sour cream, more salsa, and what ever hot sauce you prefer!
Add some guacamole and chips on the side.


2013-10-05

Cabbage Rolls - Exactly how Baba made them!

Holubchi


This recipe WAS actually passed down from our Baba & Chocha.
We remember the days that they would complain about the cost of cabbage and potatoes (when they made Perogies as well).

This recipe has to be the easiest recipe to make. It does not contain any ground beef.
To us... A real Ukrainian Cabbage Roll DOES NOT contain ground beef!

This recipe will make around 120 cabbage rolls, you can adjust the portions by the amount of rice and cabbage you buy. 

When I make them, I usually make quite a bit, so I break it down into stages.
One night, cook bacon and onions.
Second night, separate cabbage leaves
Third night, cook rice and roll

Ingredients:

  • 2 - 3 Cabbage heads - Try to find the smaller heads, the larger heads give you tougher leaves
  • 1 pkg Bacon - diced (I buy the no-name brand since you are using all the meat and grease)
  • 1 large Onion - diced
  • 4 cans of Tomato Soup - ( I like Campbells)
  • Tin foil pans - (Easy cleanup at the end)
  • Salt and pepper to taste

Preparation:

 As stated above I do this in stages. Makes is much easier and less time consuming.

Bacon & Onions

Put bacon in freezer to harden it up, it makes it easier to dice the bacon up.

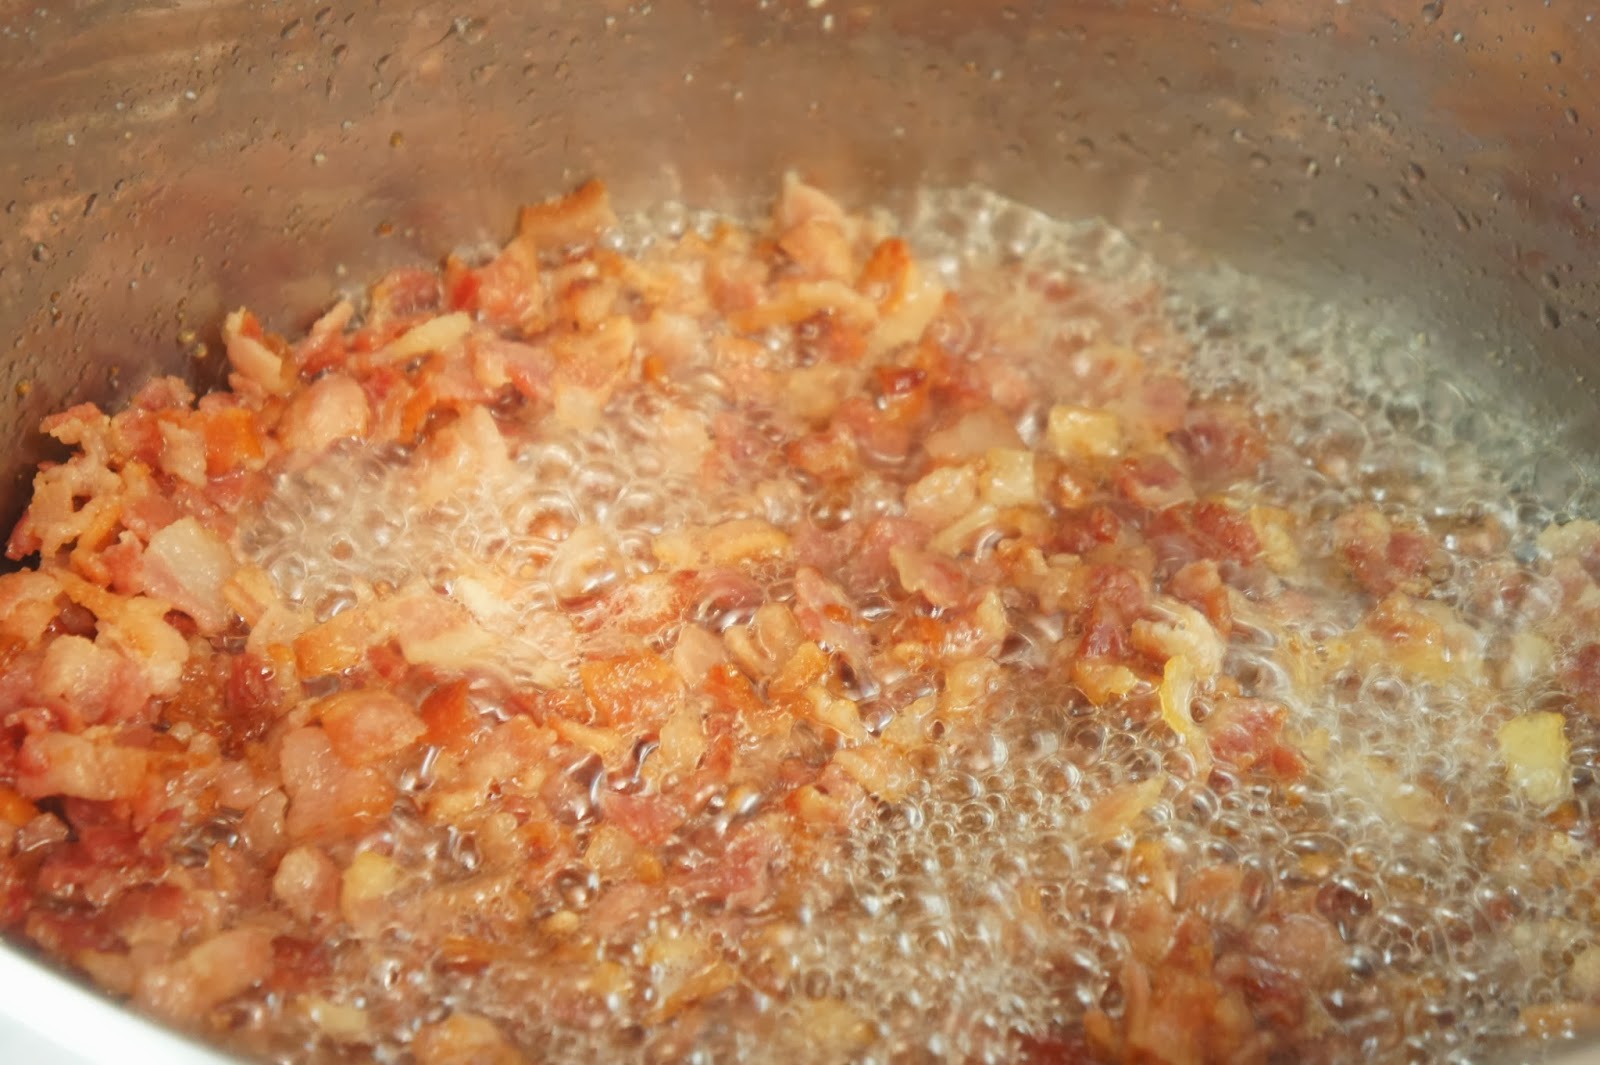
Cook the bacon in a large soup pot, prevents splatters all over.


Once bacon is cooked empty ALL into a bowl and set aside.
    - Yes I said ALL, meaning ALL the bacon and ALL the grease.
      That is what gives it so much flavor! Well, that is what Baba said...

Add the diced onions to the pot and cook. Put aside in bowl once done.


Cabbage

Take cabbage out of freezer the day before and let thaw.
Squeeze as much water out as possible. Cabbage heads should feel soft and mushy.

Take a cookie sheet and place paper towel on bottom. Begin by peeling leaves and laying on cookie sheet. Continue placing paper towel between each layer.

Making Cabbage Rolls

Cook the rice and add rest of the ingredients to the bowl. Add the pepper and salt as needed. I don't add salt as the bacon has lots, but I do put pepper in.
You will have to warm the bacon up in microwave or on the stove, so you can pour it over rice and get it mixed in well.

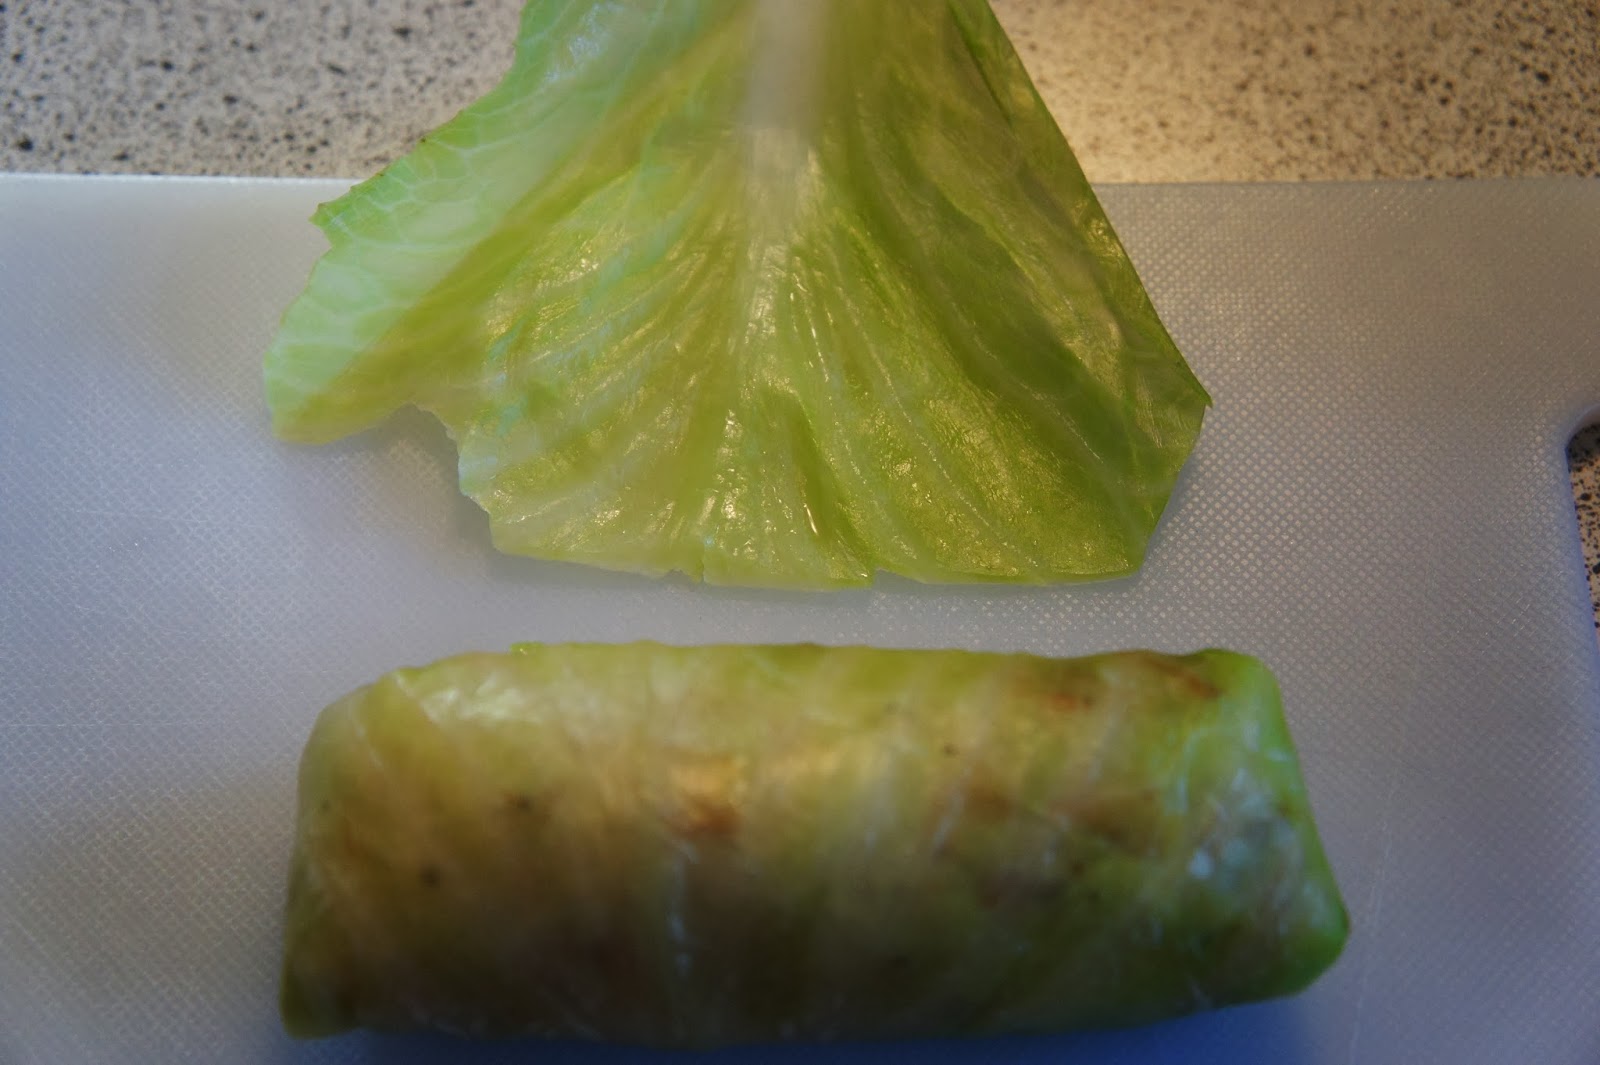
Take the cabbage leaf and trim the spine off, face the leaf so the top is facing you. (Not where it was torn off the head).
Add your rice mixture onto the leaf, and roll like a wonton. Roll tight. Tuck in sides and trim off the remaining. You don't want to use all of the leaf, just enough to roll the cabbage once around. That's it.


Add the cabbage to a greased pan. (Spray with PAM)
At the end of each layer, cover with tomato soup.
  

 Once complete, cover with foil and bake in oven at 325 for about 2-3 hours. Until cabbage is fork tender.


2013-08-22

Easy Pho Soup


Shrimp in a Chicken broth

Pho  is a Vietnamese noodle soup consisting of broth, linguine-shaped rice noodles, a few herbs, and meat. It is a popular street food in Vietnam and the specialty of a number of restaurant chains around the world.

Pho is primarily served with either beef or chicken. The Hanoi and Saigon styles of pho differ by noodle width, sweetness of broth, and choice of herbs.

Here is my very quick, all be it, probably not as ethnic as I would like (basically because of the broth) recipe.

I have made it multiple ways with:
  • Chicken
  • Beef
  • Shrimp

 Each one is fairly simple, shrimp is the easiest and quickest since there is no "pre" work needed.
Pop the peeled raw shrimp in the rice water while boiling for a minute. (you will know when they are done, they go pink fairly quickly) Then remove and add to your soup.

Ingredients

I have never been a person that would measure anything to a T. So, I will give you the basic ingredients of what is needed then you "tweak" to what you would like more of...

  • Chicken broth - Doesn't matter if homemade, or can. I have also used consomme.
    • SEE BELOW FOR UPDATED COMMENT ON SOUP BASE
  • Rice noodles
  • Bean Sprouts
  • Carrots - julianned
  • Green onion - chopped
  • Thai Basil - I have also used cilantro 
  • Shrimp - or any meat you want. ( see below for cooking chicken or beef)


Weight Watchers:  6 pts!
  • Noodles = 2 pts
The serving amounts for the noodles far exceed what you would use in your soup. 100 grams = 9 pts! Yikes!

I determined that 25 grams of noodles is PLENTY for your soup. Escpecially if you like bean sprouts, just add more in...
  • Boneless skinless Chicken breast (3 oz) = 3 pts
  • Chicken Broth = 0 or 1 pt.


Preparation

Get two pots going.
1 pot boil the water for the rice noodles. (Do not cook the rice noodles in with the soup broth, it will turn the soup murky)
1 pot to warm your soup broth up.

Once boiling add your rice noodles, and let slow boil for a couple of minutes. Monitor the rice noodles, they don't take long.
Add your shrimp but don't over cook! Once done remove and drain.

Soup Base 

Mama - Pho Ga Artificial Chicken Seasoning Powder Vietnamese Style


I finally found a soup base for Pho Ga!!!
It comes in a powder, the instructions are for 1 tsp per 1 cup of water, but I found that very strong, so I cut it down to less than half of that, and also mixed in regular Chicken Broth.
But I do have to say that this broth gives it more or a punch! Really brings out the flavors.
I found it a the Chinese Market.


Creation

Add the rice noodles and shrimp to a large soup bowl, add the chicken broth, then top with all your veggies, including the Thai Basil.
I have also added a couple of red hot peppers, but that is me and I like it hot!

You can then get creative with your garnishes to taste: Lime, Hoisin sauce, Sriracha sauce, Garlic Chili paste...

 Endless possibilities!

Pho Soup with Consomme


Chicken or Beef

If you want to use chicken, use boneless skinless chicken breast sliced thinly. I then season with garlic, salt and pepper. You can then pan fry them until done then add to soup.

For beef, choose either a filet or flank steak, slice very thinly and add directly to soup. The soup will partially cook the beef.


Serving to guests

A nice thing about this soup is that you do not have to add all the ingrediants to the soup.
If serving to guests you can place your vegetables and herbs on a small plate along with the soup, and the guests can add what they like to the soup. Plus it gives it a nicer look.

Also, make sure you pick up some chop sticks and Chinese spoons for that ethnic look!